16 Pipe Cleaner Roses Ideas Easy DIY Flowers Bouquets & Cute Crafts

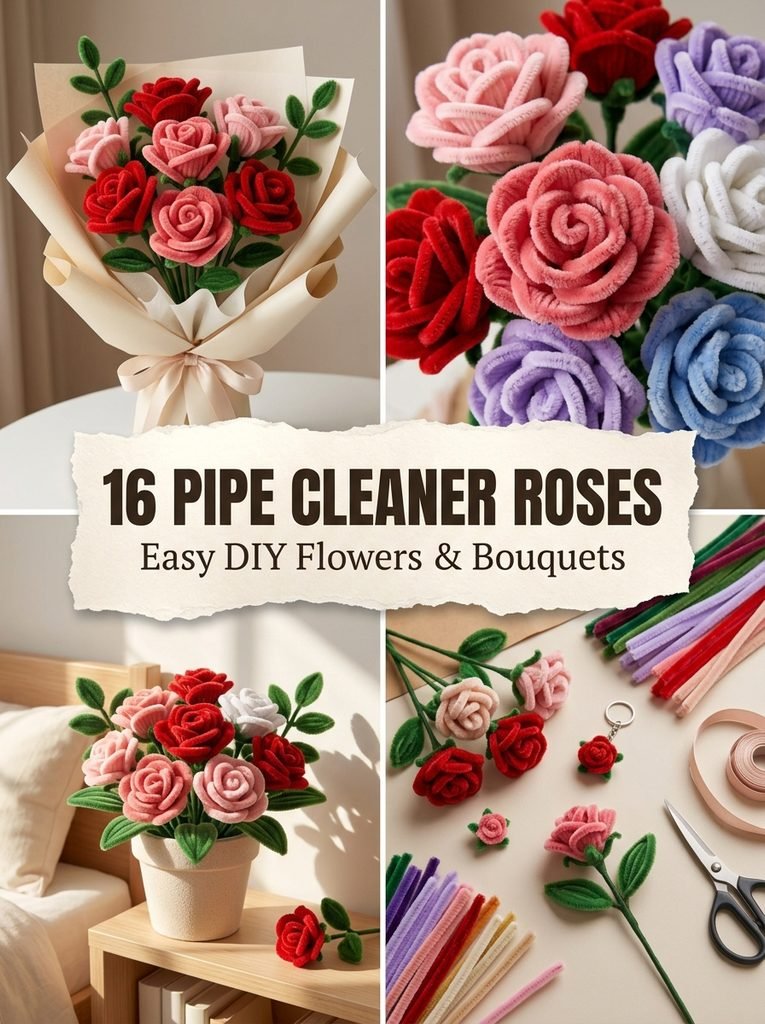
A simple craft can become something surprisingly beautiful. A few soft chenille stems, a little twisting, and some patience can turn into a handmade rose that looks perfect in a vase, bouquet, gift, or bedroom corner. Pipe cleaner roses make a great project because you can shape the petals without complicated tools or advanced skills. Chenille stems, also called pipe cleaners, work especially well for beginner flower crafts. Michaels has beginner projects that use twisting and shaping techniques to create petals, stems, and leaves. Whether you want a bouquet tutorial, a small flower pot, or a cute keychain, these ideas give you plenty of ways to experiment with color, size, and shape.
1. Easy Spiral Rose for Beginners
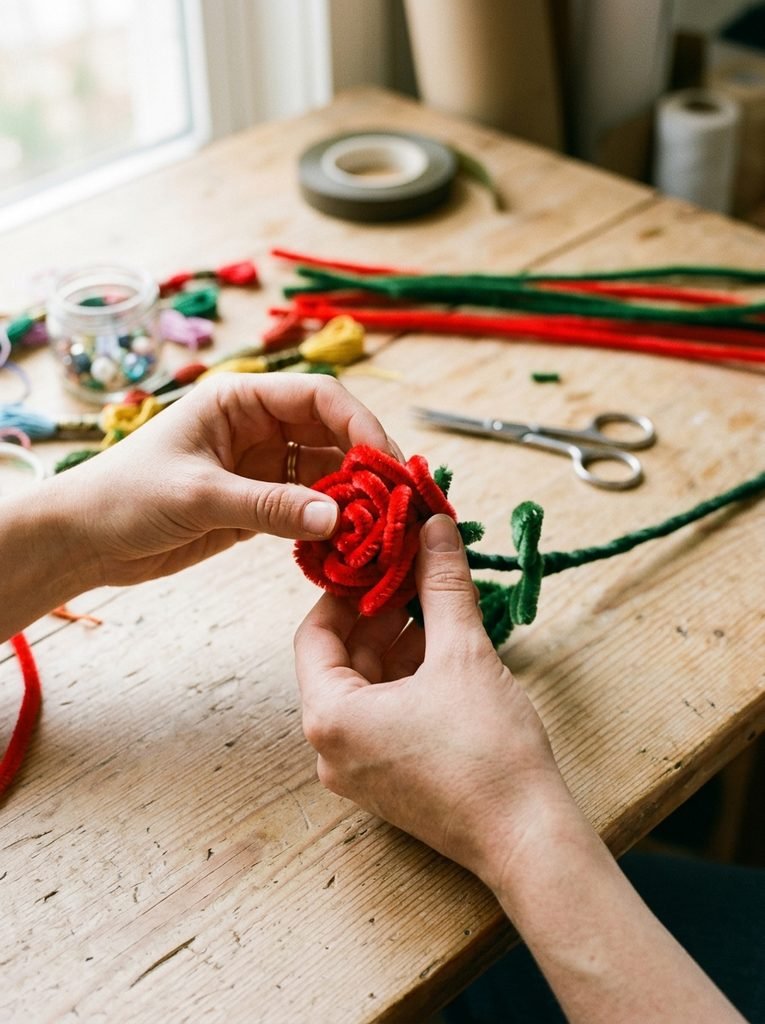
The easiest place to start is a simple spiral rose. Choose a red, pink, or white chenille stem. Curl one end tightly into a small center, then wrap the remaining length around it in loose circles. Keep the lower part slightly tighter and allow the outer curves to open up. This creates a basic rose shape without requiring a complicated pattern. Bend the outer edge gently backward to make the flower look more open. This tutorial easy method works well for children and beginners because you can reshape the petals whenever you want.
2. Layered Pink Rose With Fuller Petals
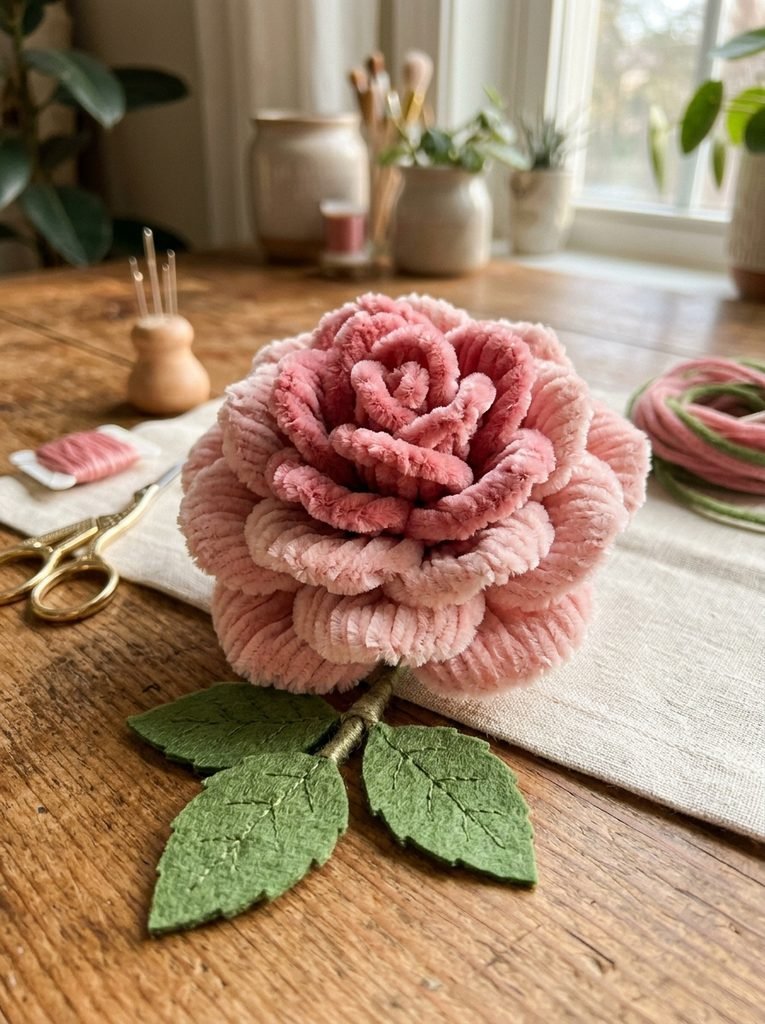
For a fuller flower, use two chenille stems in the same shade. Start the first stem with a small center and wrap it tightly. Add the second stem where the first one ends, then continue the spiral with slightly wider curves. The extra material creates more flowers and gives the bloom a layered appearance. Pink works beautifully for romantic gifts, nursery decor, and handmade room decorations. You can also mix light pink with dusty rose for subtle color variation.
3. Red Roses for a Romantic Bouquet
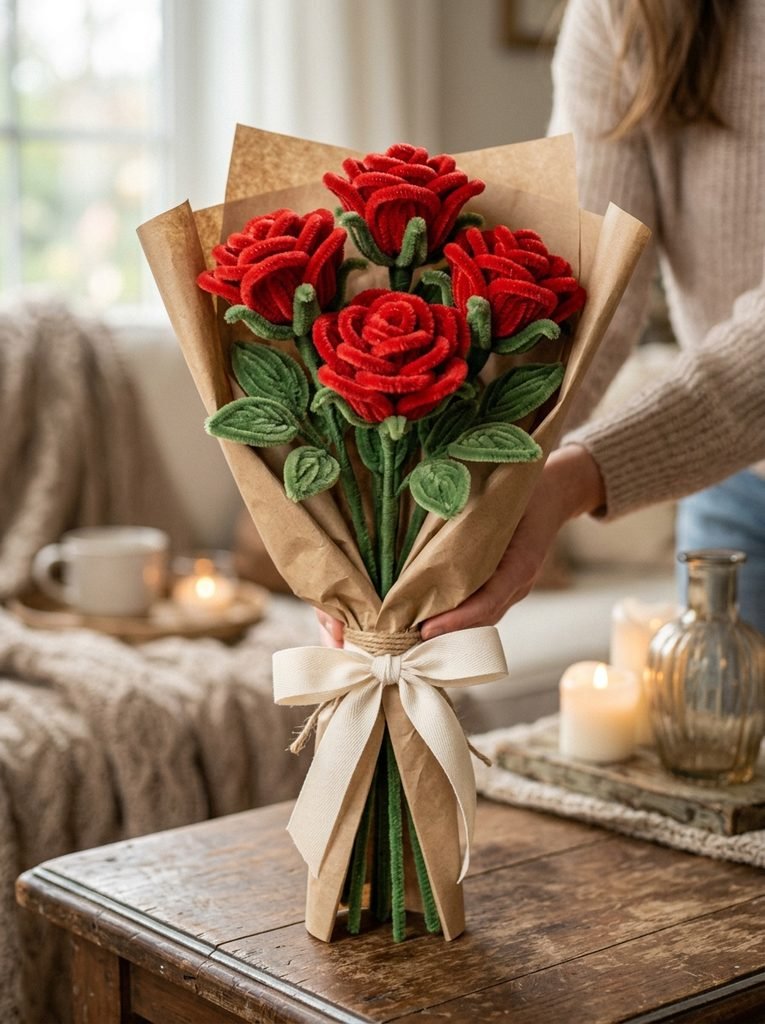
Red flowers instantly change the feeling of a handmade arrangement. Create several medium-sized roses using bright red chenille stems, then make green stems and simple leaves. Arrange three, five, or seven flowers together and tie the stems with ribbon. Add white or pale pink flowers between the red blooms if you want more contrast. A small bouquet wrapping detail can make the final project feel ready for gifting.
4. Mini Roses for Small Gifts
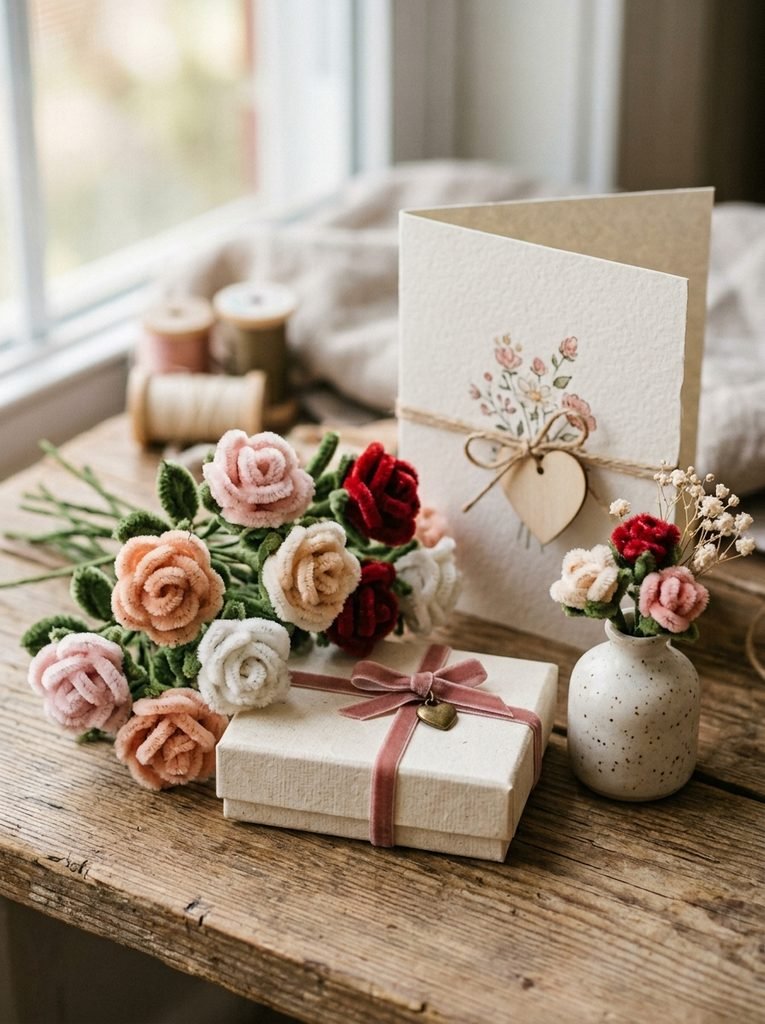
Not every rose needs to be large. Use shorter chenille stems to create tiny flowers that fit inside gift boxes, cards, baskets, or small decorative jars. Mini flowers also work well as party favors. Make several in different shades and place them around a wrapped present. Their small size makes this flower tutorial especially useful when you want a quick project with very little material.
5. Blue Roses for a Modern Look
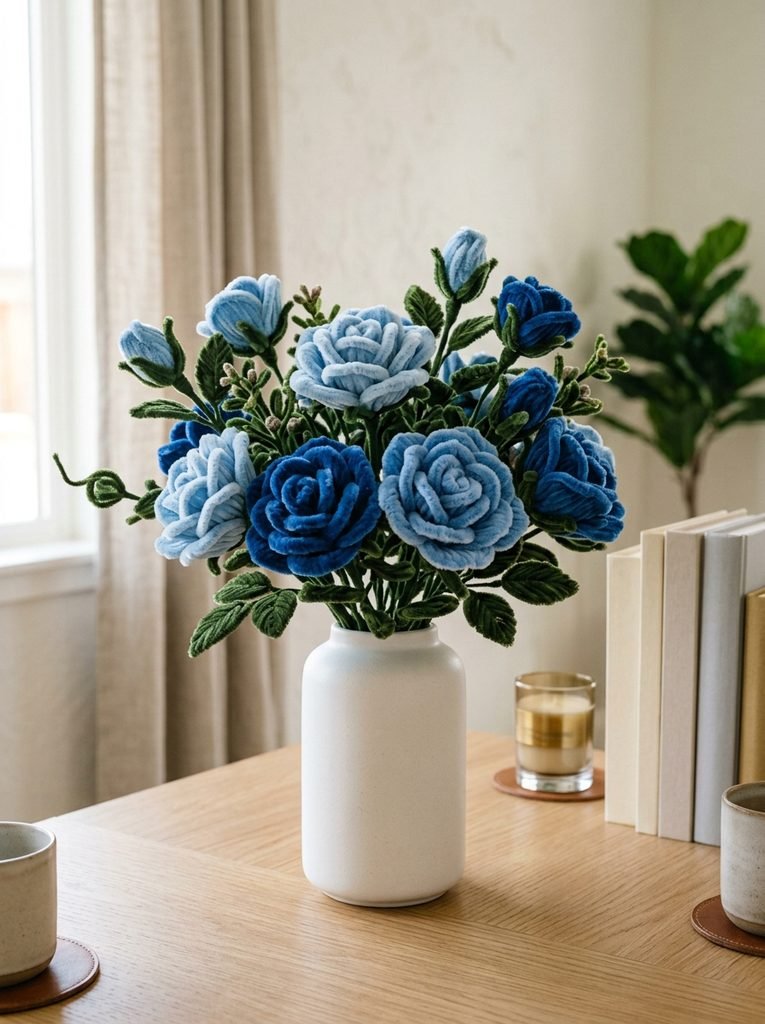
Blue roses give the traditional flower a completely different personality. Choose sky blue, royal blue, or soft powder blue chenille stems and pair them with dark or light green leaves. A blue flower bouquet can suit a modern bedroom, desk, birthday gift, or seasonal decoration. Try mixing two shades of blue in the same arrangement to create more visual depth.
6. Pipe Cleaner Roses in a Small Flower Pot
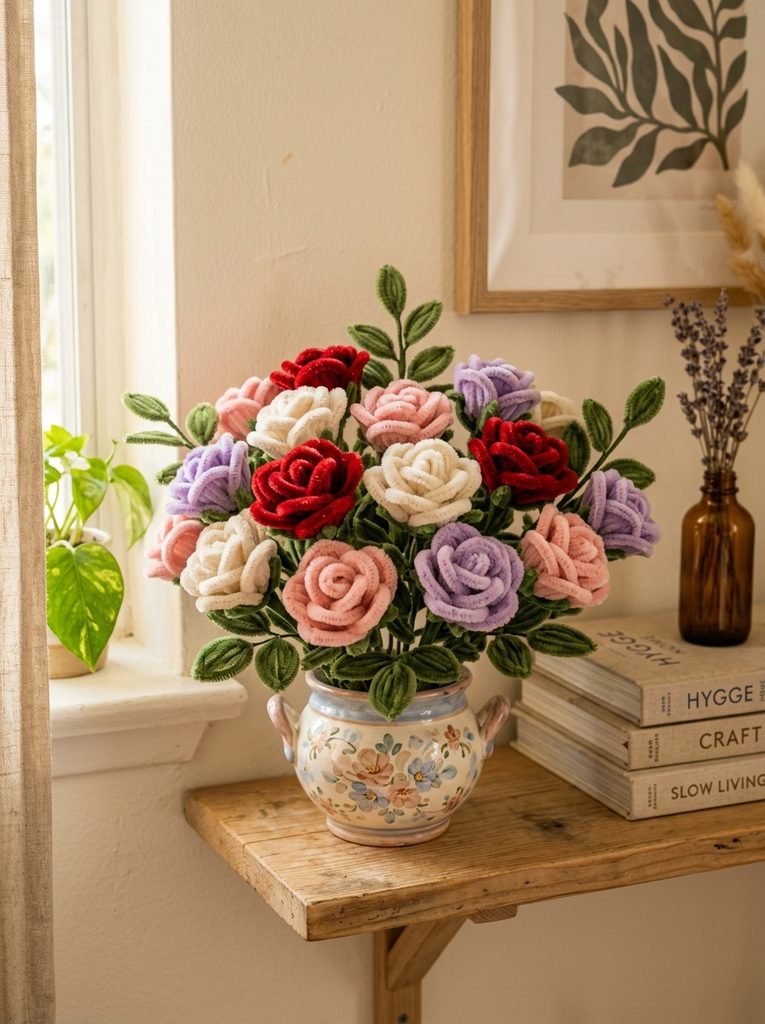
A handmade flower pot turns individual roses into permanent decor. Start with several flowers in colors that match your room. Add green stems and leaves, then place the flowers inside a small clay or decorative pot. Michaels uses a similar chenille-stem approach for a flower-pot project, including twisted green stems and leaves before placing the finished flowers into the pot. Use paper shred, small stones, or floral foam to help hold the stems in place. This idea works particularly well for desks, shelves, bedside tables, and craft corners.
7. A Colorful Flower Bouquet
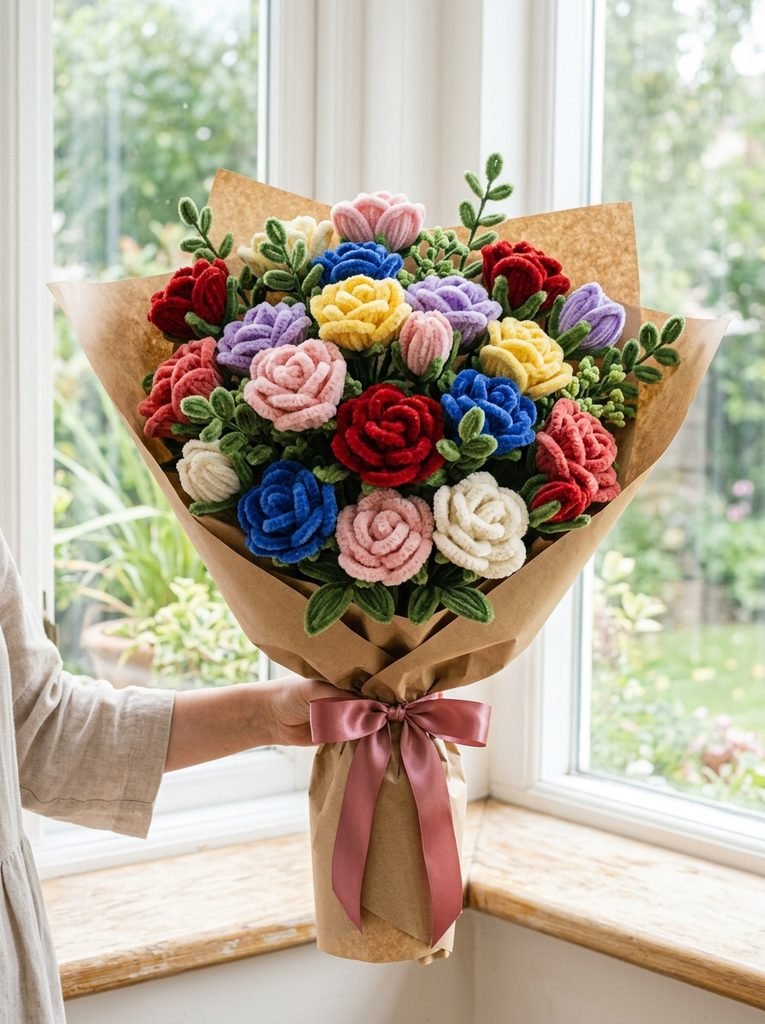
A mixed bouquet lets you use several colors instead of following one palette. Combine pink, yellow, red, purple, blue, and white roses with different green leaves. Keep the flowers at different heights so the bouquet feels natural. Michaels’ beginner chenille-stem bouquet tutorial also uses simple twisting and shaping to build flowers, stems, and leaves. Finish the arrangement with ribbon or wrapping paper. You can make the bouquet bright and playful or use soft pastel colors for a calmer look.
8. Rose With Curved Green Leaves
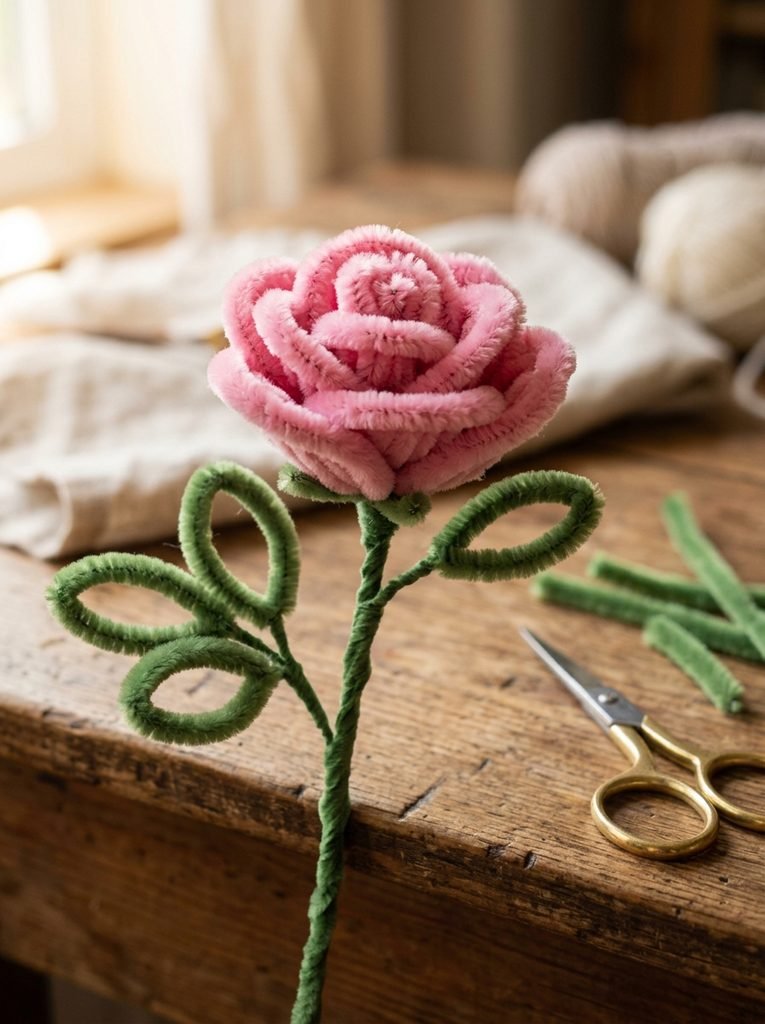
The leaves can make a handmade rose look much more complete. Create each leaf by bending a short green chenille stem into a loop, twisting the center, and attaching it to the main stem. Michaels demonstrates a similar loop-and-twist method for creating chenille-stem leaves. Try making one large leaf and two smaller ones. Slightly bend their tips outward so they frame the flower instead of hiding it.
9. Tiny Roses for a Keychain
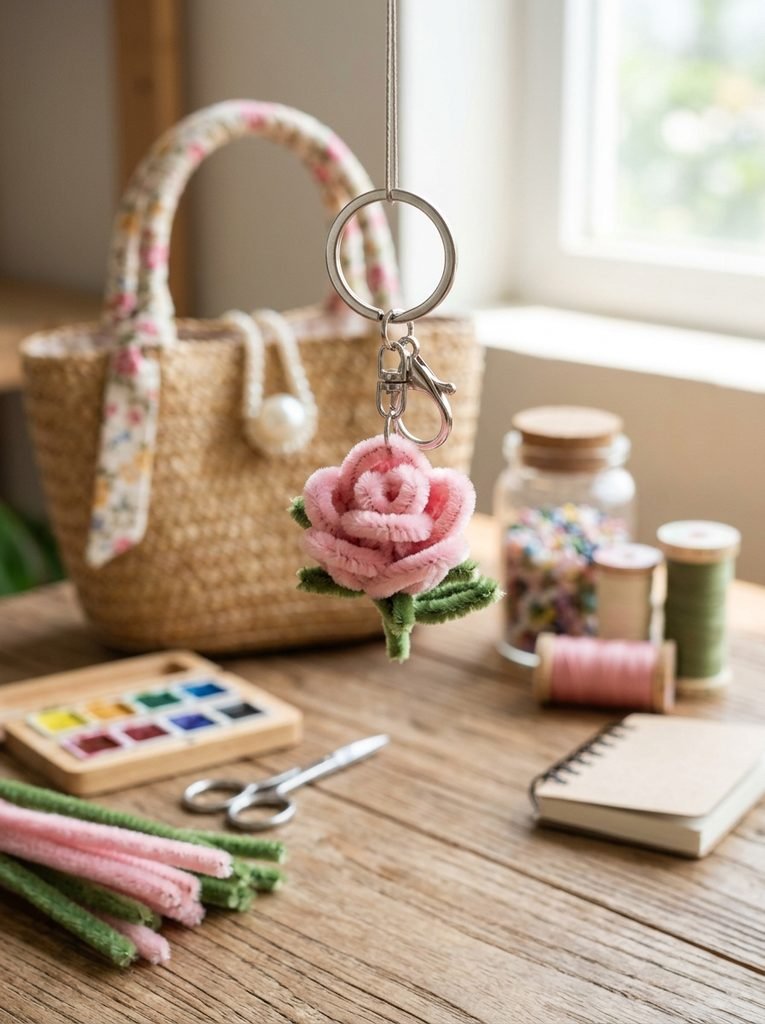
Turn a miniature rose into a useful little accessory. Make one very small flower, attach it securely to a short green stem, and connect the base to a keychain ring or small craft clasp. You can create matching sets in red, pink, blue, or purple. A keychain tutorial like this makes a fun handmade gift for friends and works well for bags, pencil cases, and backpacks. Keep small components away from very young children because keychain hardware can create a choking hazard.
10. Giant Rose for Statement Decor
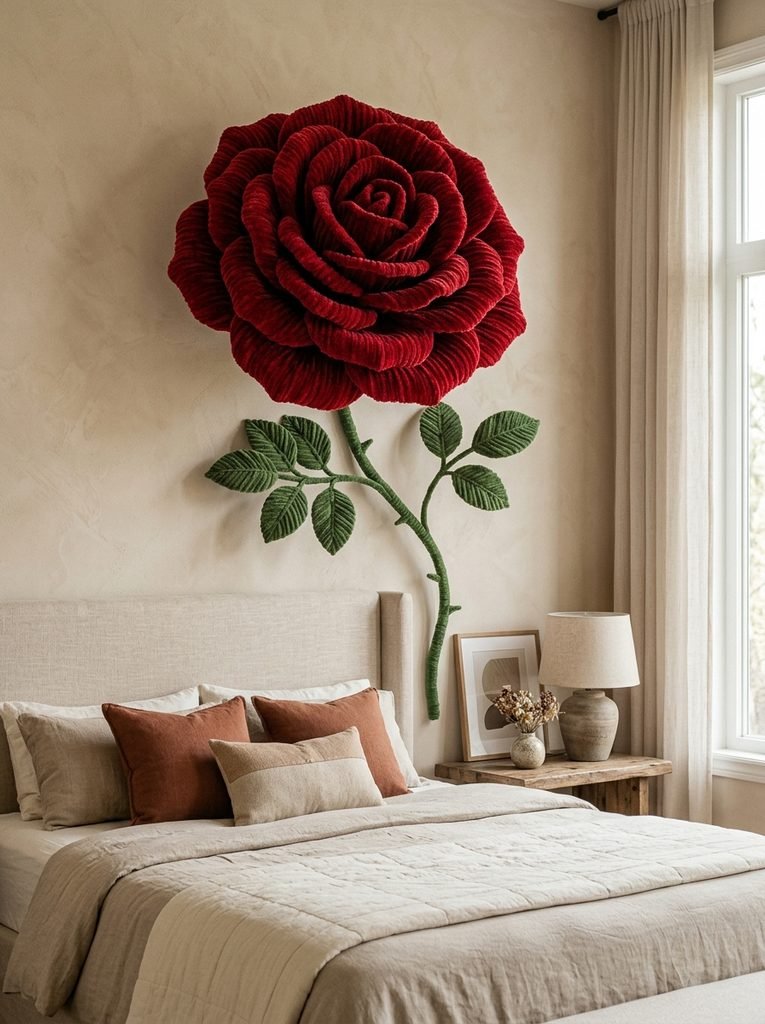
Want something that immediately catches attention? Make a giant rose by joining several chenille stems together. Start with a small center and continue building larger loops around it. A larger flower needs more material, but the basic technique stays simple. Michaels also notes that additional chenille stems can be twisted together to create longer pieces and larger flower projects. A giant rose can decorate a party backdrop, bedroom wall, photo area, or gift display.
11. Pipe Cleaner Roses for a DIY Gift
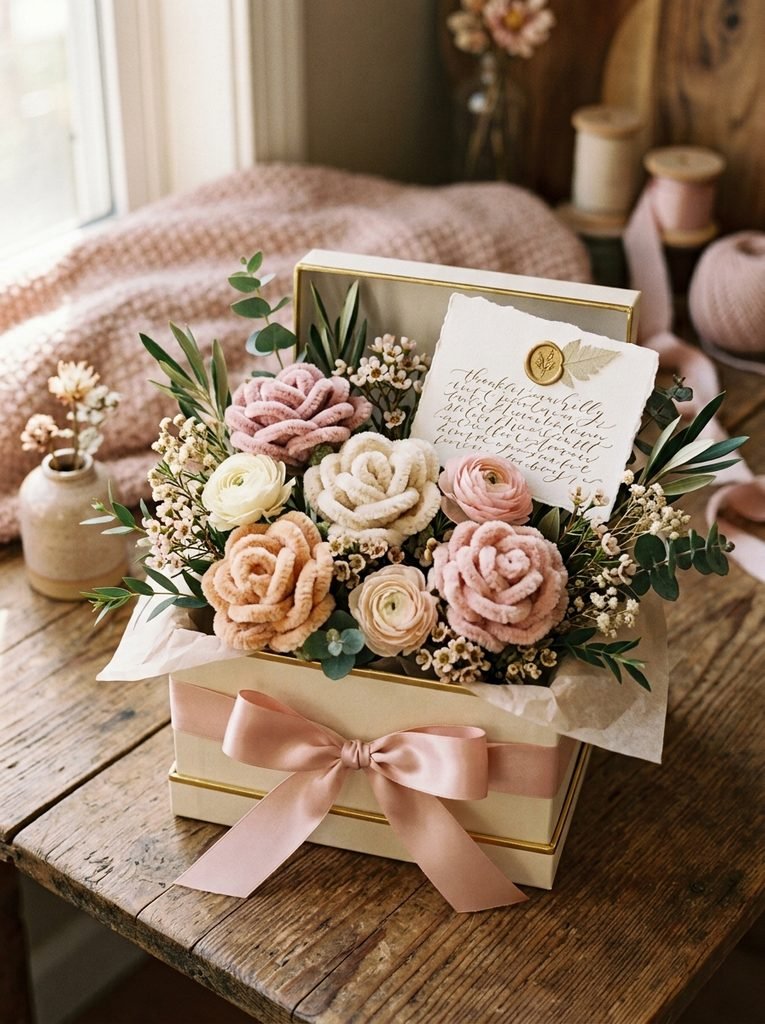
Handmade flowers become more meaningful when you personalize them. Create three to five roses in the recipient’s favorite colors and arrange them in a small box or wrapped bouquet. Add a handwritten note, ribbon, or small charm. You can make the flowers for birthdays, Mother’s Day, anniversaries, graduations, or simply as a thoughtful surprise. The beauty of DIY gifts comes from the time behind them. The flower does not need to look perfect. Its handmade character is part of the charm.
12. Rose Bouquet With Simple Wrapping
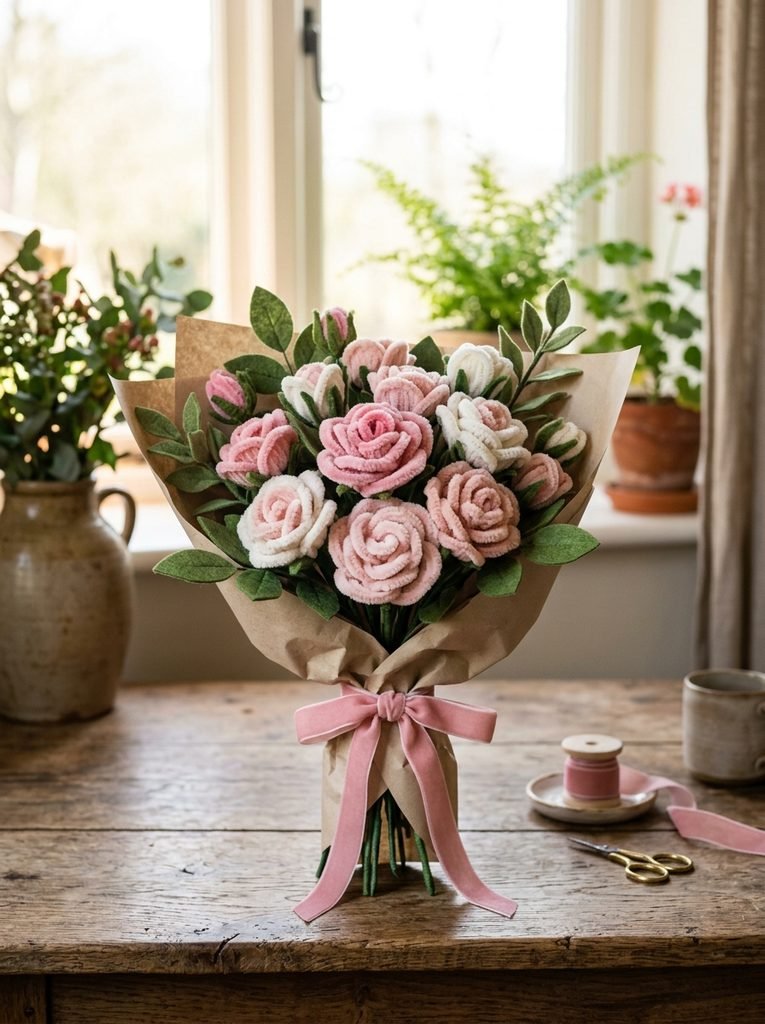
The right wrapping can make a simple handmade bouquet look polished. Arrange your roses in a loose fan shape. Place taller flowers toward the back and shorter flowers near the front. Wrap the stems in kraft paper, pastel tissue paper, or soft fabric. Tie everything with ribbon or twine. This bouquet tutorial idea works especially well when you want your craft to look ready for a photograph or gift.
13. Pastel Roses for Room Decor
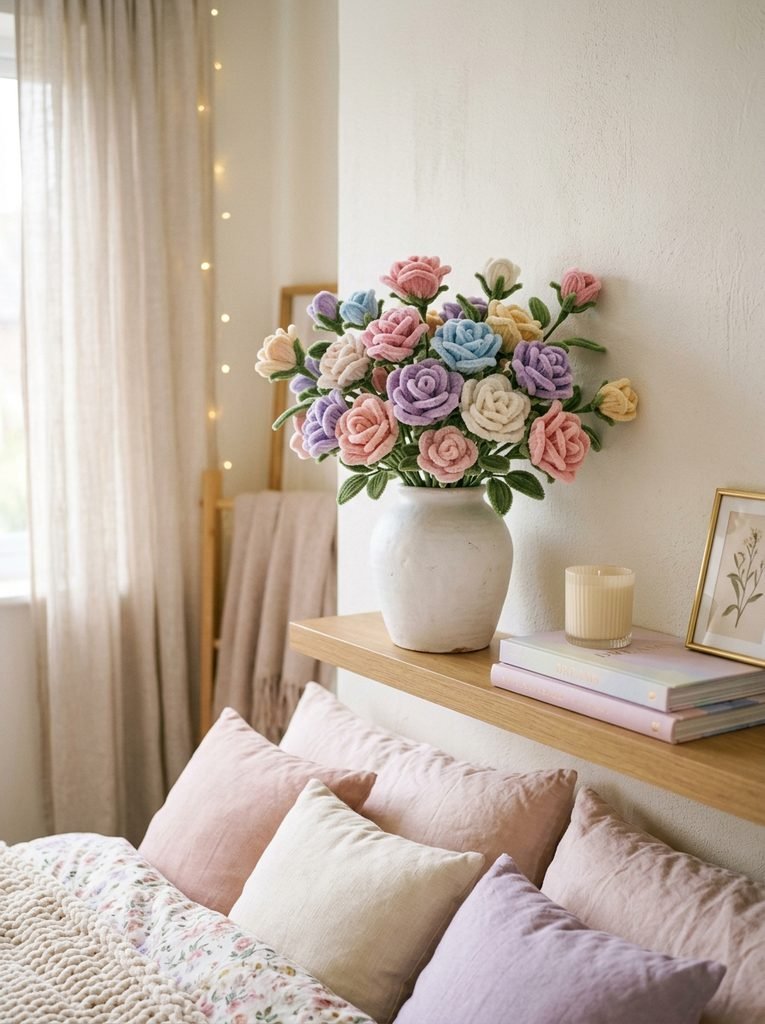
Pastel colors can create a softer look than strong red or dark shades. Try blush pink, lavender, baby blue, cream, and pale yellow. Place the flowers in a white vase or small glass jar. You can also arrange a few blooms beside books, candles, framed artwork, or a small lamp. This makes an easy decoration for a bedroom, study area, or creative workspace.
14. Two-Tone Rose With Contrasting Petals
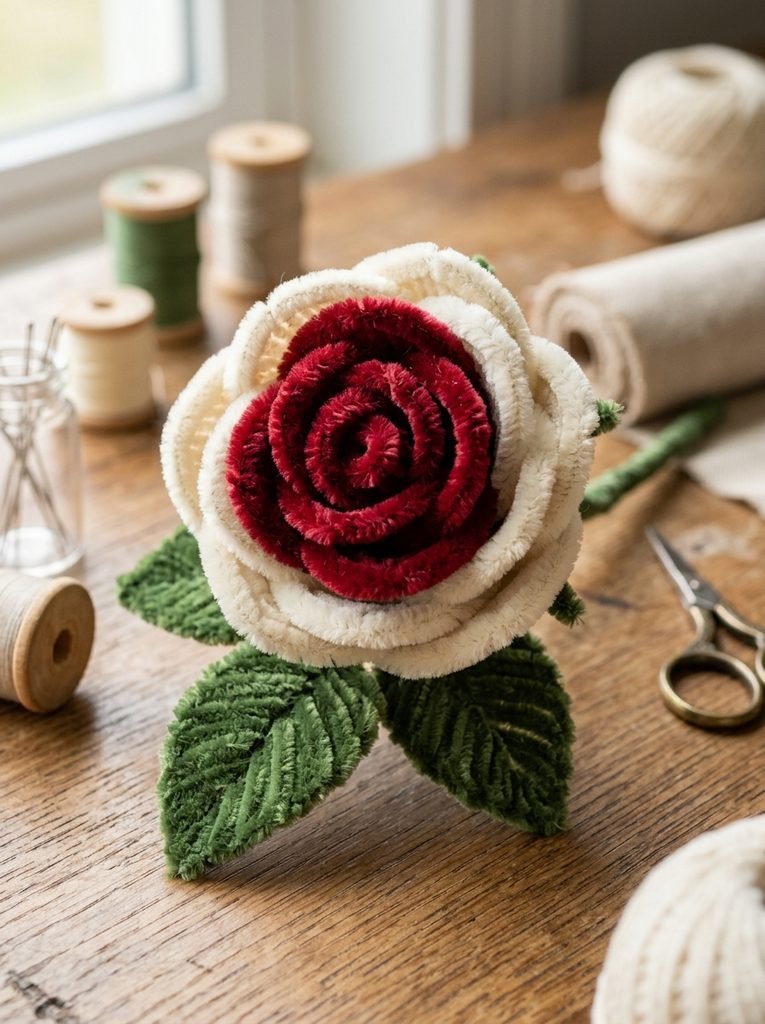
Two colors can make one flower look much more interesting. Use one chenille stem for the center and another color for the outer petals. Try red and white, pink and purple, blue and white, or yellow and orange. Keep the center compact and allow the second color to create the larger outer layers. This simple technique gives you endless bouquet ideas without changing the basic construction method.
15. Mini Roses for a Decorative Garland
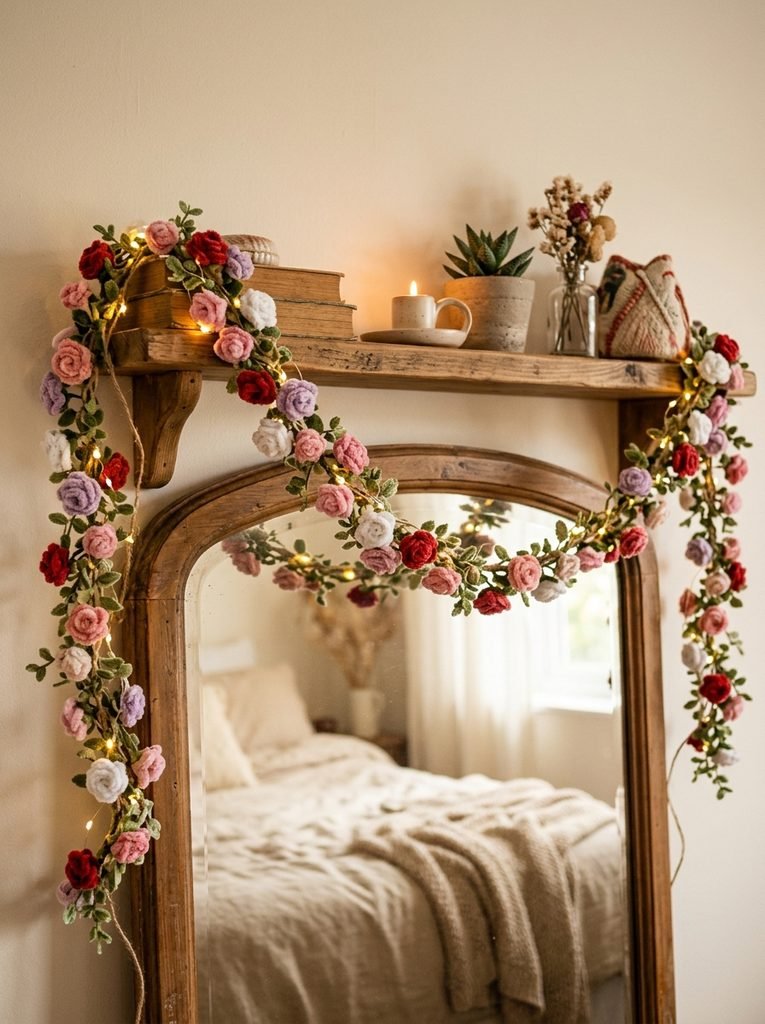
Small roses can become part of a larger decoration. Make several tiny blooms and attach them along a ribbon, string, or flexible green stem. Space the flowers evenly for a clean look, or cluster them into small groups for a more natural arrangement. Hang the finished garland across a shelf, mirror, headboard, or party backdrop. You can also mix in small leaves between the flowers. This adds texture without making the garland feel crowded.
16. Pipe Cleaner Roses With a Full Handmade Arrangement
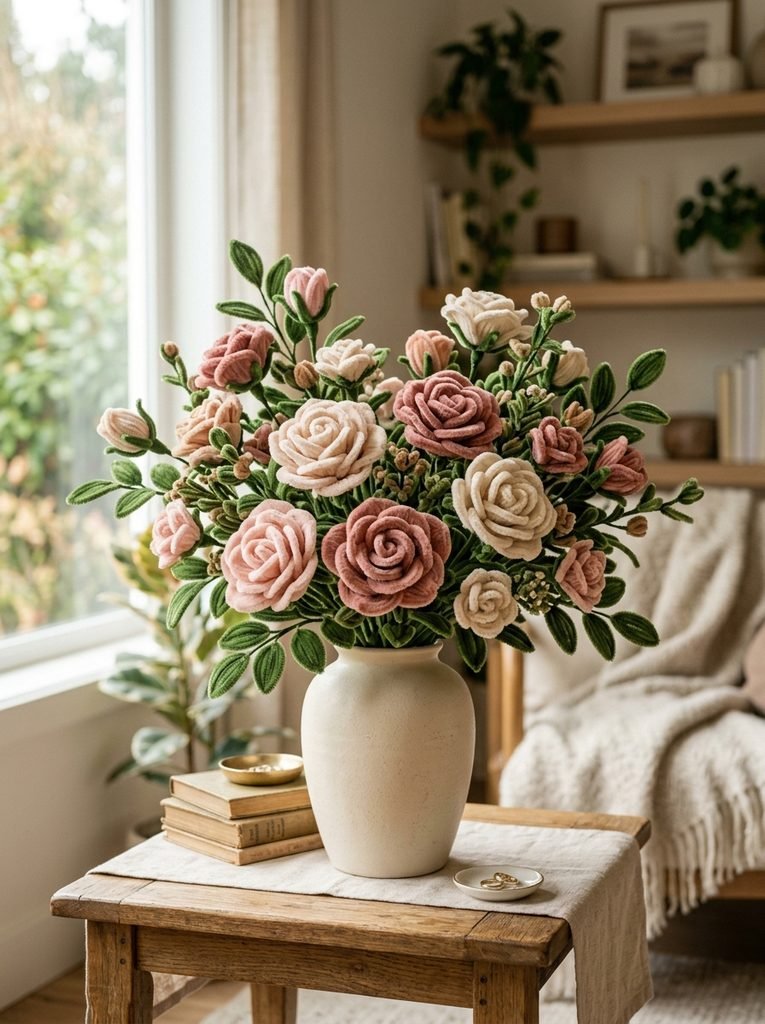
For the final project, combine several techniques into one display. Make large roses for the center, smaller roses around the edges, and different leaf sizes throughout the arrangement. Choose one main color and two supporting shades. For example, use dusty pink as the main color with cream and soft green accents. Place the flowers in a vase or decorative pot and adjust each bloom until the arrangement feels balanced. This step by step approach lets you turn simple craft materials into a finished piece that looks carefully planned. You can change the flower size, colors, leaves, and wrapping to create your own style.
How to Make Your Flowers Look More Natural
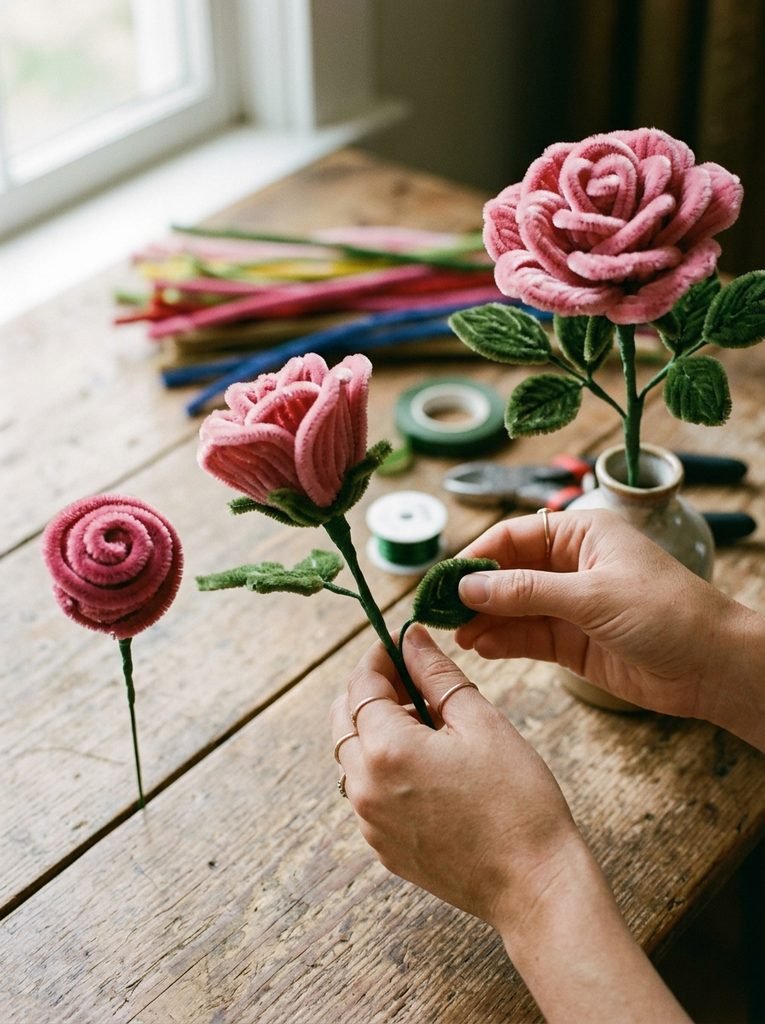
The secret to better handmade flowers is not complicated. Shape the center tightly, then gradually loosen the outer petals. Bend a few petals outward while keeping others closer to the center. This creates depth. The same principle applies to the leaves. Avoid making every leaf identical. Slight changes in size and angle make the arrangement feel more organic. If your flower looks too flat, gently reshape the outer loops with your fingers. If it looks too loose, twist the base again to tighten the structure. Michaels’ chenille flower projects use basic twisting, loops, and shaping rather than complicated equipment, which makes these techniques easy to adapt for different flower designs.
Materials You Need
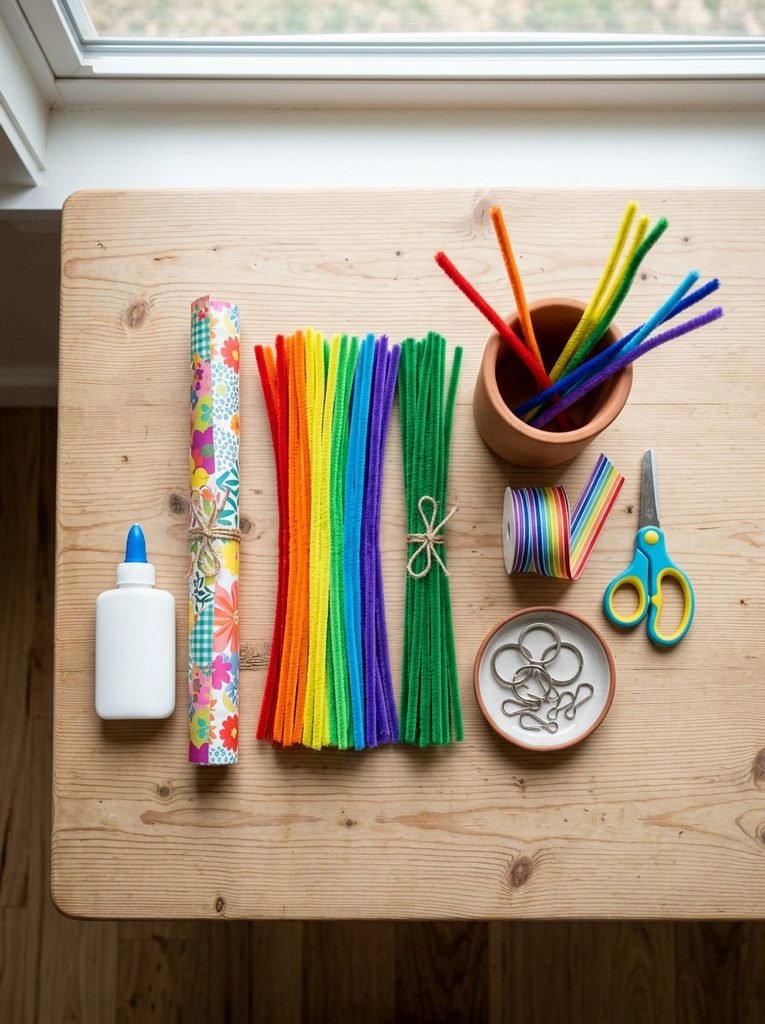
For most projects, you only need a few basic supplies:
- Colored chenille stems
- Green chenille stems
- Scissors
- Ribbon or twine
- Small vase or flower pot
- Keychain rings for accessories
- Craft glue when needed
- Decorative paper for bouquet wrapping
Choose chenille stems that bend easily but hold their shape. Michaels’ beginner bouquet project specifically lists chenille stems, scissors, and craft glue among its materials. For projects involving children, supervise the use of scissors and any glue that requires heat. Keep small craft components away from young children.
Final Thoughts
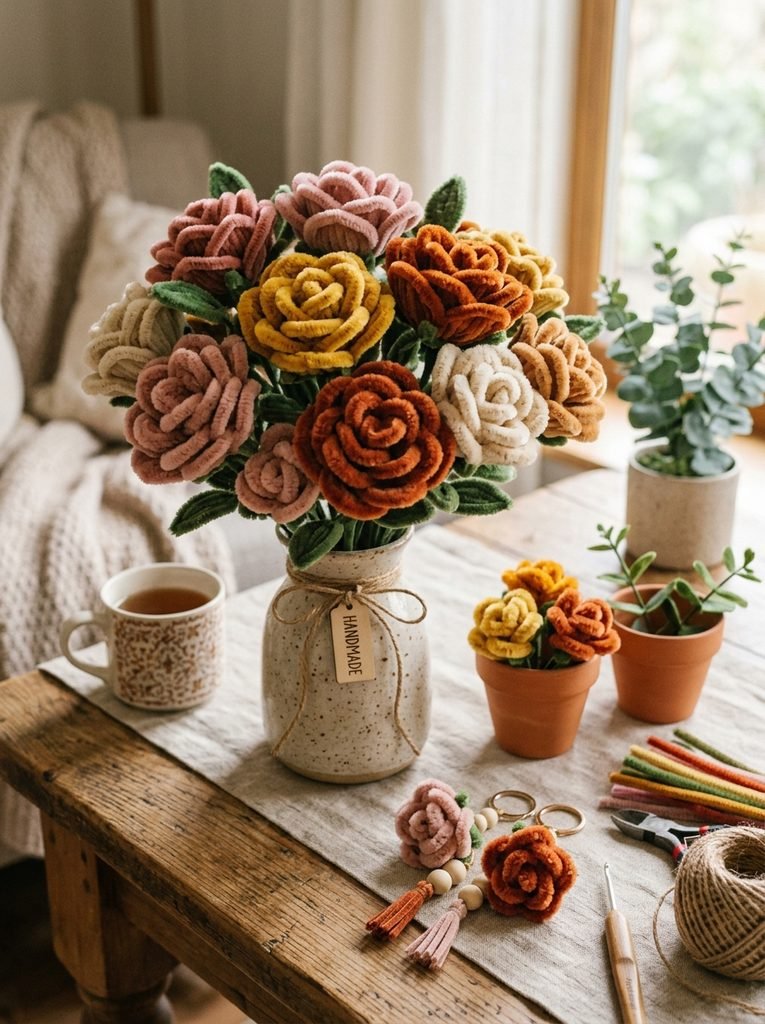
A good handmade flower does not need expensive supplies or complicated techniques. Start with one simple spiral, learn how the petals respond when you twist and bend them, and then experiment with size and color. Once you understand the basic shape, you can make bouquets, flower pots, keychains, garlands, gifts, and room decorations. The same simple materials can create completely different results. The best part is that every flower can have its own personality. Make the petals tight or open, use bold colors or soft pastels, and mix large blooms with tiny ones. That freedom is what makes this craft so enjoyable.